
Introduction.
There’s something timeless about a classic lemon tart; its bright, zesty flavor coupled with a perfectly buttery crust makes it a beloved dessert across generations. Whether you’re an experienced baker or just stepping into the kitchen, this recipe will guide you through crafting a lemon tart that is both visually stunning and deliciously satisfying. In this blog, we’ll explore the intricacies of creating a classic lemon tart, from the flaky crust to the silky smooth filling, as well as the history and variations of this delightful dessert.
The Allure of Lemon Tart.
Lemon tarts have a rich history, dating back centuries. The tartness of lemons combined with the sweetness of sugar creates a delightful balance that tantalizes the taste buds. Originating in Europe, particularly in France, this dessert has become a staple in many cultures. Its versatility allows for numerous variations, but the classic lemon tart remains a favorite.In this blog, we’ll focus on creating the perfect buttery crust and silky smooth filling. Each component is essential, and together they create a dessert worthy of any special occasion or a simple family dinner.
Ingredients:
For the Buttery Crust.
- 1 ½ cups all purpose flour: This will form the base of your tart shell.
- ½ cup unsalted butter: Cold and cubed, this is the key to a flaky crust.
- ¼ cup powdered sugar: To add a hint of sweetness to the crust.
- 1/4 teaspoon salt: Enhances the flavors.
- 1 large egg yolk: Helps bind the ingredients together.
- 2-4 tablespoons ice water: Adjust as needed to bring the dough together.
For the Silky Smooth Filling.
- 1 cup granulated sugar: The main sweetener that balances the tartness of the lemons.
- 4 large eggs: Provides structure and richness to the filling.
- 2 large egg yolks: Adds extra creaminess.
- 1/2 cup freshly squeezed lemon juice: Freshly squeezed is key for the best flavor.
- Zest of 2 lemons: Enhances the lemon flavor in the filling.
- 1/2 cup heavy cream: For a smooth and luxurious texture.
- 1 teaspoon vanilla extract: Adds depth to the flavor profile.
Preparing the Buttery Crust.
Step 1: Making the Dough.
Begin by combining the flour, powdered sugar, and salt in a mixing bowl. Add the cold, cubed butter to the bowl. Using a pastry cutter or your fingers, work the butter into the flour mixture until it resembles coarse crumbs. This step is crucial as it creates the flaky texture of the crust.
Step 2: Binding the Dough.
In a separate bowl, whisk together the egg yolk and ice water. Gradually add this mixture to the flour and butter mixture, stirring gently until the dough begins to come together. Be careful not to overwork the dough; you want to maintain that flaky texture.
Step 3: Chilling the Dough.
Form the dough into a disk, wrap it in plastic wrap, and refrigerate for at least 30 minutes. Chilling the dough allows the gluten to relax, which will prevent your crust from shrinking while baking.
Step 4: Rolling Out the Dough.
Once chilled, remove the dough from the refrigerator. On a lightly floured surface, roll it out into a circle about 1/8-inch thick. Carefully transfer the dough to a 9-inch tart pan, pressing it into the corners. Trim any excess dough hanging over the edges.
Step 5: Pre Baking the Crust.
To prevent the crust from puffing up while baking, you’ll need to blind bake it. Preheat your oven to 375°F (190°C). Line the crust with parchment paper and fill it with pie weights or dried beans. Bake for 15 minutes, then remove the weights and parchment and bake for an additional 10-15 minutes, or until the crust is lightly golden. Allow it to cool completely before adding the filling.
Crafting the Silky Smooth Filling.
Step 6: Preparing the Filling.
While the crust is cooling, you can prepare the filling. In a medium bowl, whisk together the granulated sugar, eggs, and egg yolks until well combined. The mixture should be light and creamy.
Step 7: Adding the Flavor.
Stir in the freshly squeezed lemon juice, lemon zest, heavy cream, and vanilla extract. Mix until everything is well incorporated. The combination of ingredients should create a bright yellow filling that is both tangy and sweet.
Step 8: Baking the Tart.
Pour the filling into the cooled crust, smoothing the top with a spatula. Bake in the preheated oven at 350°F (175°C) for about 30-35 minutes, or until the filling is set but still slightly jiggly in the center. The tart will continue to firm up as it cools.
Step 9: Cooling and Serving.
Once baked, remove the tart from the oven and allow it to cool at room temperature for about 30 minutes. Then, transfer it to the refrigerator and chill for at least 2 hours before serving. This chilling process helps the filling set and enhances the flavors.
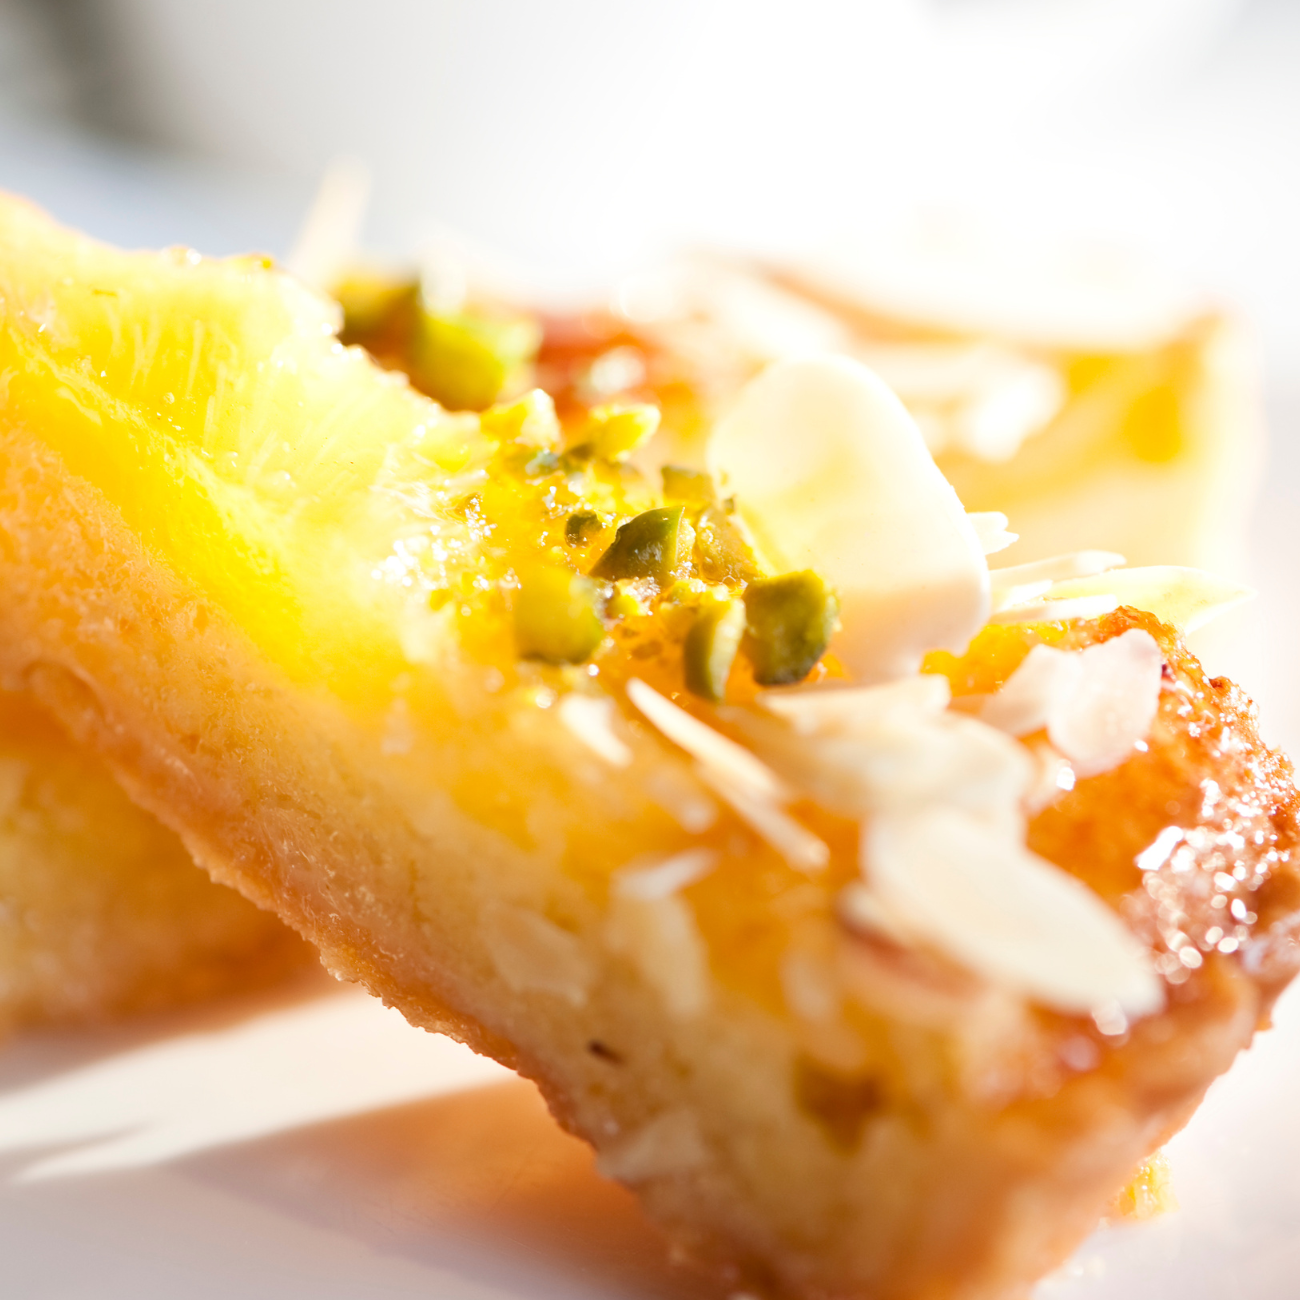
Presentation and Serving Suggestions.
A classic lemon tart is stunning on its own, with its vibrant yellow filling and golden crust. To elevate the presentation, consider dusting the top with powdered sugar or adding a dollop of whipped cream. Fresh berries, such as raspberries or blueberries, can also make a beautiful garnish.

Pairing Suggestions.
For a delightful accompaniment, serve your lemon tart with a cup of tea or a refreshing glass of strawberry milk shake. The tartness of the lemon pairs wonderfully with the sweetness of the dessert, creating a harmonious balance.
Variations of the Classic Lemon Tart.
While the classic lemon tart is a masterpiece in its own right, there are numerous variations to explore. Here are a few ideas to inspire your creativity:
- Lemon Basil Tart: Infuse your filling with fresh basil for a unique twist that adds an aromatic flavor to the tart.
- Lemon Meringue Tart: Top your lemon filling with a fluffy meringue for a delightful contrast in texture and a touch of sweetness.
- Lemon Coconut Tart: Incorporate shredded coconut into the filling for a tropical flair.
- Ginger Lemon Tart: Add a hint of ginger to the crust or filling for a spicy kick that complements the tartness of the lemon.
- Berry Lemon Tart: Layer fresh berries on top of the lemon filling before serving for a burst of color and additional flavor.
The Joy of Baking.
Baking is not just about creating delicious treats; it’s an art form that brings joy to both the baker and those who indulge in the results. The classic lemon tart is a perfect example of how simple ingredients can come together to create something extraordinary. Whether you’re making it for a special occasion or just to enjoy with family, this dessert is sure to impress.
CoNCLUSION.
In conclusion, the classic lemon tart with its buttery crust and silky smooth filling is a dessert that should be in every baker’s repertoire. The process of making it is rewarding, and the end result is a delicious treat that embodies the essence of sweetness and tartness.
Frequently Asked Questions.
1. Can I use store bought crust instead of making my own?
Yes, you can use a store bought pie crust to save time. However, making your own crust adds a personal touch and enhances the flavor.
2. How can I tell when the lemon tart is done baking?
The tart is done when the edges are set, and the center is slightly jiggly. It will firm up as it cools.
3. Can I make the tart ahead of time?
Absolutely! The tart can be made a day in advance and stored in the refrigerator until ready to serve.
4. What can I substitute for heavy cream in the filling?
You can use coconut cream or a non dairy cream alternative for a lighter or dairy free option.
5. How should I store leftovers?
Store any leftover lemon tart in an airtight container in the refrigerator for up to three days. Enjoy it chilled for the best flavor!With this comprehensive guide, you’re well on your way to mastering the classic lemon tart. Happy baking!