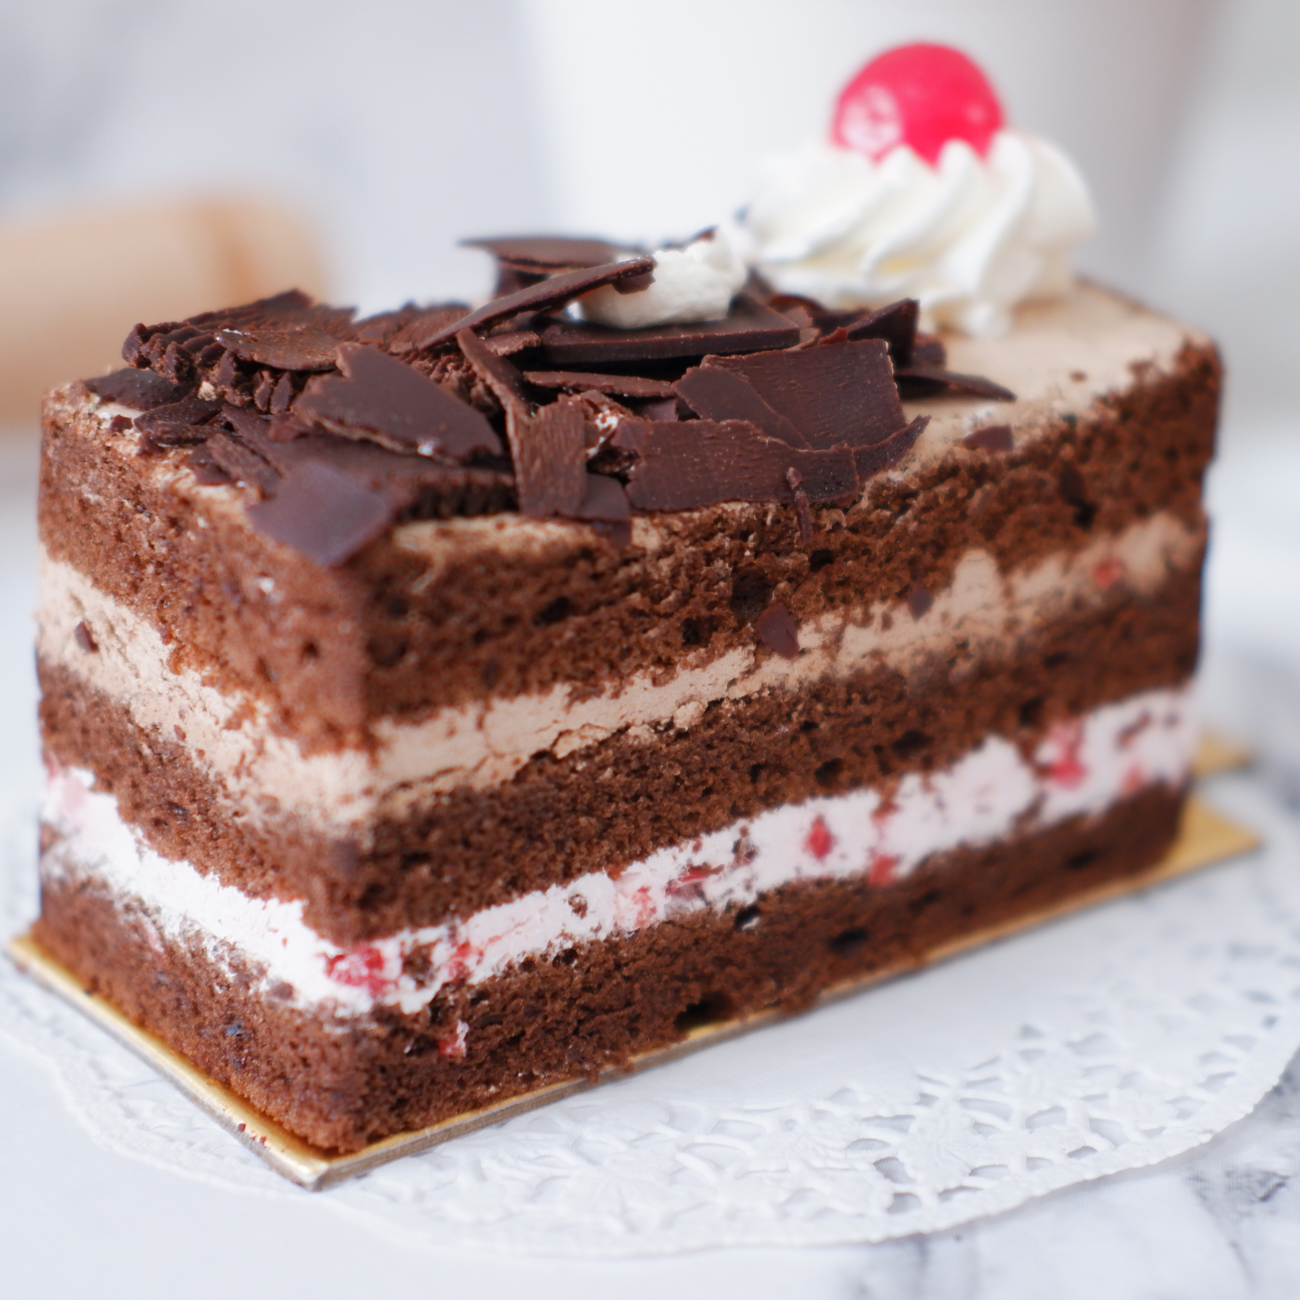
When it comes to indulgent desserts, few can rival the classic Black Forest cake. With its rich layers of chocolate sponge, luscious whipped cream, and succulent cherries, this German delight has won the hearts of many. But what if you could enjoy this decadent treat without any animal products? Enter the Vegan Black Forest Cake, a deliciously moist, chocolatey masterpiece that even non-vegans will love. In this blog, we’ll explore how to create a Vegan Black Forest Cake that is so delectable, no one will guess it’s dairy free and egg free!
What Makes a Cake Vegan?
Before we dive into the recipe, let’s clarify what makes a cake vegan. A vegan cake uses plant based ingredients instead of animal derived ones. This means substituting traditional eggs, milk, and butter with alternatives like:
- Flaxseed meal or chia seeds for binding and moisture.
- Plant based milk (like almond, coconut, or oat milk) instead of cow’s milk.
- Vegan butter or coconut oil in place of regular butter.
By carefully selecting these ingredients, we can create a cake that is not only vegan but also rich in flavor and texture.
Ingredients for Vegan Black Forest Cake.
To make a Vegan Black Forest Cake, you’ll need the following ingredients. This recipe will yield a two-layer cake, perfect for sharing or indulging on your own!
For the Chocolate Cake:
- 2 cups all purpose flour: Provides the structure for the cake.
- 1 ½ cups granulated sugar: Sweetens the cake.
- ½ cup unsweetened cocoa powder: Adds rich chocolate flavor.
- 1 tsp baking soda: Helps the cake rise.
- ½ tsp baking powder: Provides additional leavening.
- ½ tsp salt: Enhances flavor.
- 1 cup almond milk: Acts as the moistening agent.
- ½ cup vegetable oil: Adds richness and moisture.
- 1 tbsp apple cider vinegar: Reacts with the baking soda for fluffiness.
- 1 tsp vanilla extract: Adds depth of flavor.
For the Cherry Filling:
- 2 cups fresh or frozen cherries: The star of the show!
- ¼ cup granulated sugar: Sweetens the cherry filling.
- 1 tbsp cornstarch: Helps thicken the filling.
- 1 tbsp lemon juice: Enhances the flavor of the cherries.
For the Vegan Whipped Cream:
- 1 can full fat coconut milk: The base for creamy whipped topping.
- 2 tbsp powdered sugar: Sweetens the whipped cream.
- 1 tsp vanilla extract: Adds flavor.
For Garnishing:
- Chocolate shavings: For that classic Black Forest look.
- Extra cherries: To top the cake.
Step by Step Instructions:
Step 1: Prepare the Chocolate Cake Layers.
- Preheat the Oven: Preheat your oven to 350°F (175°C). Grease and flour two 9 inch round cake pans.
- Mix Dry Ingredients: In a large mixing bowl, sift together the all purpose flour, granulated sugar, cocoa powder, baking soda, baking powder, and salt.
- Combine Wet Ingredients: In another bowl, whisk together the almond milk, vegetable oil, apple cider vinegar, and vanilla extract.
- Combine Wet and Dry: Pour the wet ingredients into the dry ingredients and mix until just combined. Be careful not to over mix, as this can lead to a dense cake.
- Bake: Divide the batter evenly between the prepared cake pans. Bake in the preheated oven for 30-35 minutes, or until a toothpick inserted into the center comes out clean.
- Cool: Once baked, allow the cakes to cool in the pans for 10 minutes before transferring them to a wire rack to cool completely.
Step 2: Make the Cherry Filling.
- Cook Cherries: In a saucepan over medium heat, combine the cherries, granulated sugar, cornstarch, and lemon juice. Cook for about 5-7 minutes, stirring occasionally, until the cherries have released their juices and the mixture thickens.
- Cool: Remove from heat and let it cool to room temperature.
Step 3: Prepare the Vegan Whipped Cream.
- Chill Coconut Milk: The night before, refrigerate a can of full fat coconut milk. This helps the cream separate from the liquid.
- Whip the Cream: Scoop out the solid cream from the chilled coconut milk into a mixing bowl. Using a hand mixer, whip the cream until fluffy, adding in the powdered sugar and vanilla extract gradually.
Step 4: Assemble the Cake.
- Layer the Cakes: Once the cake layers are completely cooled, place one layer on a serving platter. Spread a generous layer of cherry filling on top.
- Add Whipped Cream: Top the cherry layer with a layer of vegan whipped cream.
- Add Second Layer: Place the second cake layer on top. Use the remaining whipped cream to frost the top and sides of the cake.
- Garnish: Decorate the top of the cake with chocolate shavings and additional cherries for that classic Black Forest look.

Step 5: Chill and Serve.
For best results, refrigerate the assembled cake for at least an hour before serving. This helps the flavors meld together and makes slicing easier. When you’re ready to serve, slice the cake and enjoy this vegan delight with friends and family!
Tips for Success.
- Use Quality Ingredients: The flavor of your cake will significantly depend on the quality of the ingredients you use, especially the cocoa powder and cherries.
- Experiment with Flavors: Feel free to add a splash of cherry liqueur like Kirsch to the cherry filling for an authentic touch. Just be sure to adjust the sweetness accordingly.
- Storage: Store leftover cake in an airtight container in the refrigerator for up to five days. You can also freeze individual slices for later enjoyment.
Conclusion.
This Vegan Black Forest Cake is the perfect way to indulge in a classic dessert without compromising your dietary choices. With its rich chocolate layers, sweet cherry filling, and fluffy whipped cream, it’s a treat that will impress everyone vegans and non-vegans alike. So go ahead and bake this delightful cake, and watch as it becomes the star of your dessert table!Enjoy your baking adventure, and remember, the best moments are often shared over a delicious slice of cake!
Visit their website for all tasty, thrifty, timely recipes: https://tastythriftytimely.com/
Frequently Asked Questions.
- Can I use gluten free flour for this recipe? Yes! You can substitute all purpose flour with a gluten free flour blend. Just ensure the blend has a binding agent like xanthan gum.
- How can I make this cake sugar free? You can use sugar substitutes like coconut sugar, maple syrup, or stevia. Adjust the quantity according to the sweetness level you desire.
- What can I use instead of coconut milk for whipping? If coconut milk isn’t your preference, you can use other non dairy whipping creams available in stores. Look for brands that whip up well and are stable.
- Can I make this cake in advance? Absolutely! You can bake the cake layers a few days ahead and store them in the refrigerator. Assemble the cake on the day you plan to serve it for the best texture.
- What’s the best way to store leftover cake? Store leftover cake in an airtight container in the refrigerator for up to five days. If you want to keep it longer, place individual slices in the freezer.

